WizBot Desktop Guide (via Upeko)
Supported Operating Systems
- Windows 10 or later (64-bit)
- Ubuntu: 20.04, 22.04, 24.04
- Mint: 19, 20, 21
- Debian: 10, 11, 12
- RockyLinux: 8, 9
- AlmaLinux: 8, 9
- openSUSE Leap: 15.5, 15.6
- openSUSE Tumbleweed
- Fedora: 38, 39, 40, 41, 42
- Arch & Artix
- macOS 13 (Ventura) or later
Creating a Discord Bot & Getting Credentials
Creating your own Discord bot
This guide will show you how to create your own discord bot, invite it to your server, and obtain the credentials needed to run it.
- Go to the Discord developer application page.
- Log in with your Discord account.
- Click New Application.
- Fill out the Name field however you like, accept the terms, and confirm.
- Go to the Bot tab on the left sidebar.
- Optional: Add bot's avatar and description.
- Click the Reset Token button, select Yes, do it! to confirm token reset, then copy the token that is revealed.
!!! warning "IMPORTANT" Keep your token safe: The token is like a password for your bot. Anyone with this token can control your bot. If you accidentally share your token, reset it immediately to prevent unauthorized access.
- Paste your token into the
tokenfield withincreds.yml. - Scroll down to the
Privileged Gateway Intentssection.- You MUST enable the following:
- PRESENCE INTENT
- SERVER MEMBERS INTENT
- MESSAGE CONTENT INTENT
- You MUST enable the following:
Inviting your bot to your server

- From the General Information tab, copy your
Application ID. - Replace the
YOUR_CLIENT_ID_HEREin the following link, with yourClient ID:https://discordapp.com/oauth2/authorize?client_id=YOUR_CLIENT_ID_HERE&scope=bot&permissions=66186303- The link should now look something like this:
https://discordapp.com/oauth2/authorize?client_id=123123123123&scope=bot&permissions=66186303
- The link should now look something like this:
- Access that newly created link, pick your Discord server, click
Authorizeand confirm with the captcha at the end. - The bot should now be in your server!
Setup
-
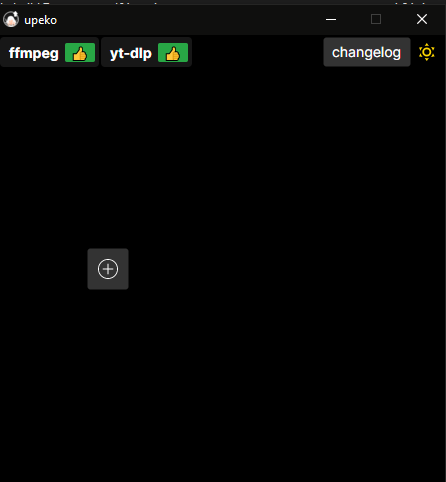
Download and run the WizBot Updater.
-
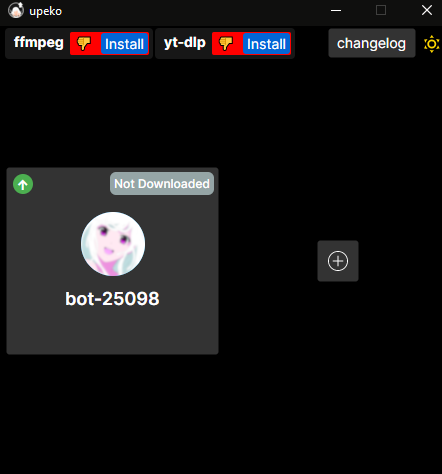
Click the plus button to add a new bot
-
If you want to use the music module, click on
Installnext toffmpegandyt-dlpat the top -
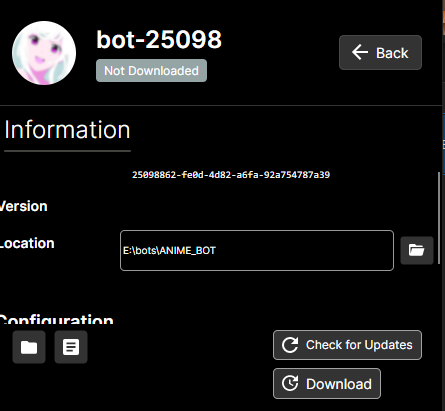
Click on the newly created bot
-
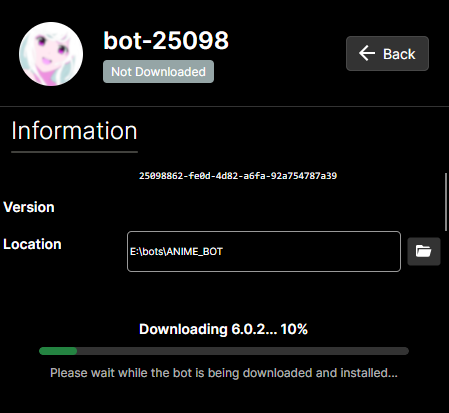
Click on DOWNLOAD at the lower right
-
When installation is finished, click on
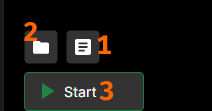
CREDS(1) above theRUN(3) button on the lower left2simply opens your bot's data folder.
- Paste in your BOT TOKEN previously obtained via Creating a Discord Bot & Getting Credentials, then save your changes.
Starting WizBot
- Either click on
RUNbutton in the updater or run the bot via its desktop shortcut.
Updating WizBot
IMPORTANT
- Make sure WizBot is closed and not running
- Run
.diein a connected server to make sure.
- Run
- Make sure you don't have
datafolder, bot folder, or any other bot file open in any program, as the updater will fail to replace your version
- Run
upekoif not already running - Click on your bot
- Click on
Check for updates - If updates are available, you will be able to click on the Update button
- Click
Update - Click
RUNafter it's done